Quick Start
Prerequisites
First, you need to install a matching dependency environment and tool:
- OSX/Linux Environment
- docker
- docker-compose
Deploy Rill Flow
Download Rill-Flow source
git clone https://github.com/weibocom/rill-flow.git
Start Service
Enter the docker directory of the rill-flow source code, execute the launch command:
cd rill-flow/docker
docker-compose up -d
If your system is installed with Docker Compose V2 instead of V1, use
docker composeinstead ofdocker-compose.Check if this is the case bydocker compose version.Read more here.
Verify Installation
Check the status of view Rill Flow:
docker-compose ps
Below is expected output:
           Name                         Command               State                                           Ports
------------------------------------------------------------------------------------------------------------------------------------------------------------
rill-flow-mysql              docker-entrypoint.sh --bin ...   Up      0.0.0.0:3306->3306/tcp, 33060/tcp
rillflow_cache_1             docker-entrypoint.sh redis ...   Up      6379/tcp
rillflow_jaeger_1            /go/bin/all-in-one-linux         Up      14250/tcp, 14268/tcp, 0.0.0.0:16686->16686/tcp, 5775/udp, 5778/tcp, 6831/udp, 6832/udp
rillflow_rill-flow_1         catalina.sh run                  Up      0.0.0.0:8080->8080/tcp
rillflow_sample-executor_1   uvicorn main:app --host 0. ...   Up
rillflow_ui_1                /docker-entrypoint.sh /bin ...   Up      0.0.0.0:80->80/tcp
If your actual output matches the expected output, indicate that the Rill Flow has been installed successfully.
Access Rill Flow Admin
After the successful execution you can access the Rill Flow Admin page through http://localhost:.Use the server IP for direct access if deployed to the server (default port is 80).
Submit Task
Submit a simple process task
- Step 1: Open Rill Flow manage Ui. Click on the
process definitionmenu to enter theprocess listpage and click on thenewbutton.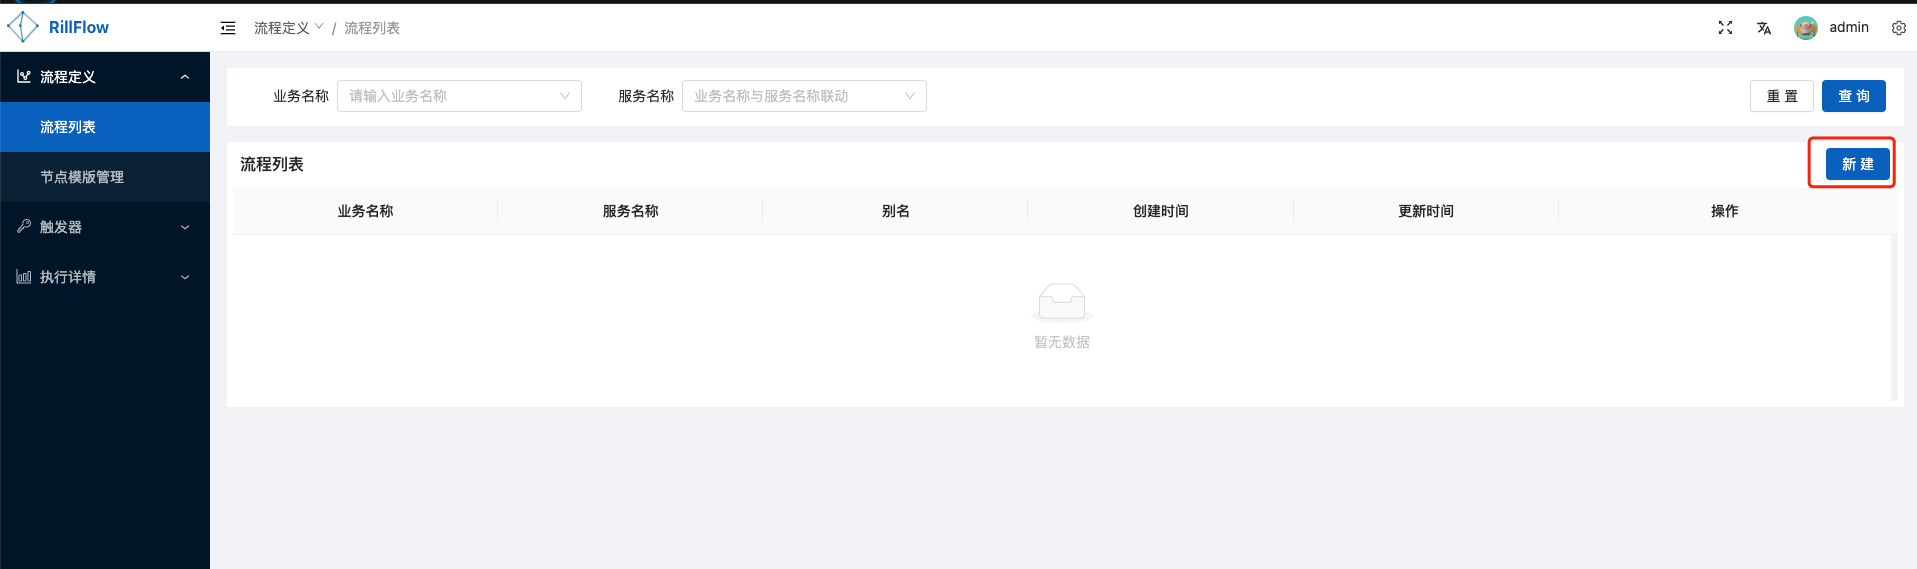
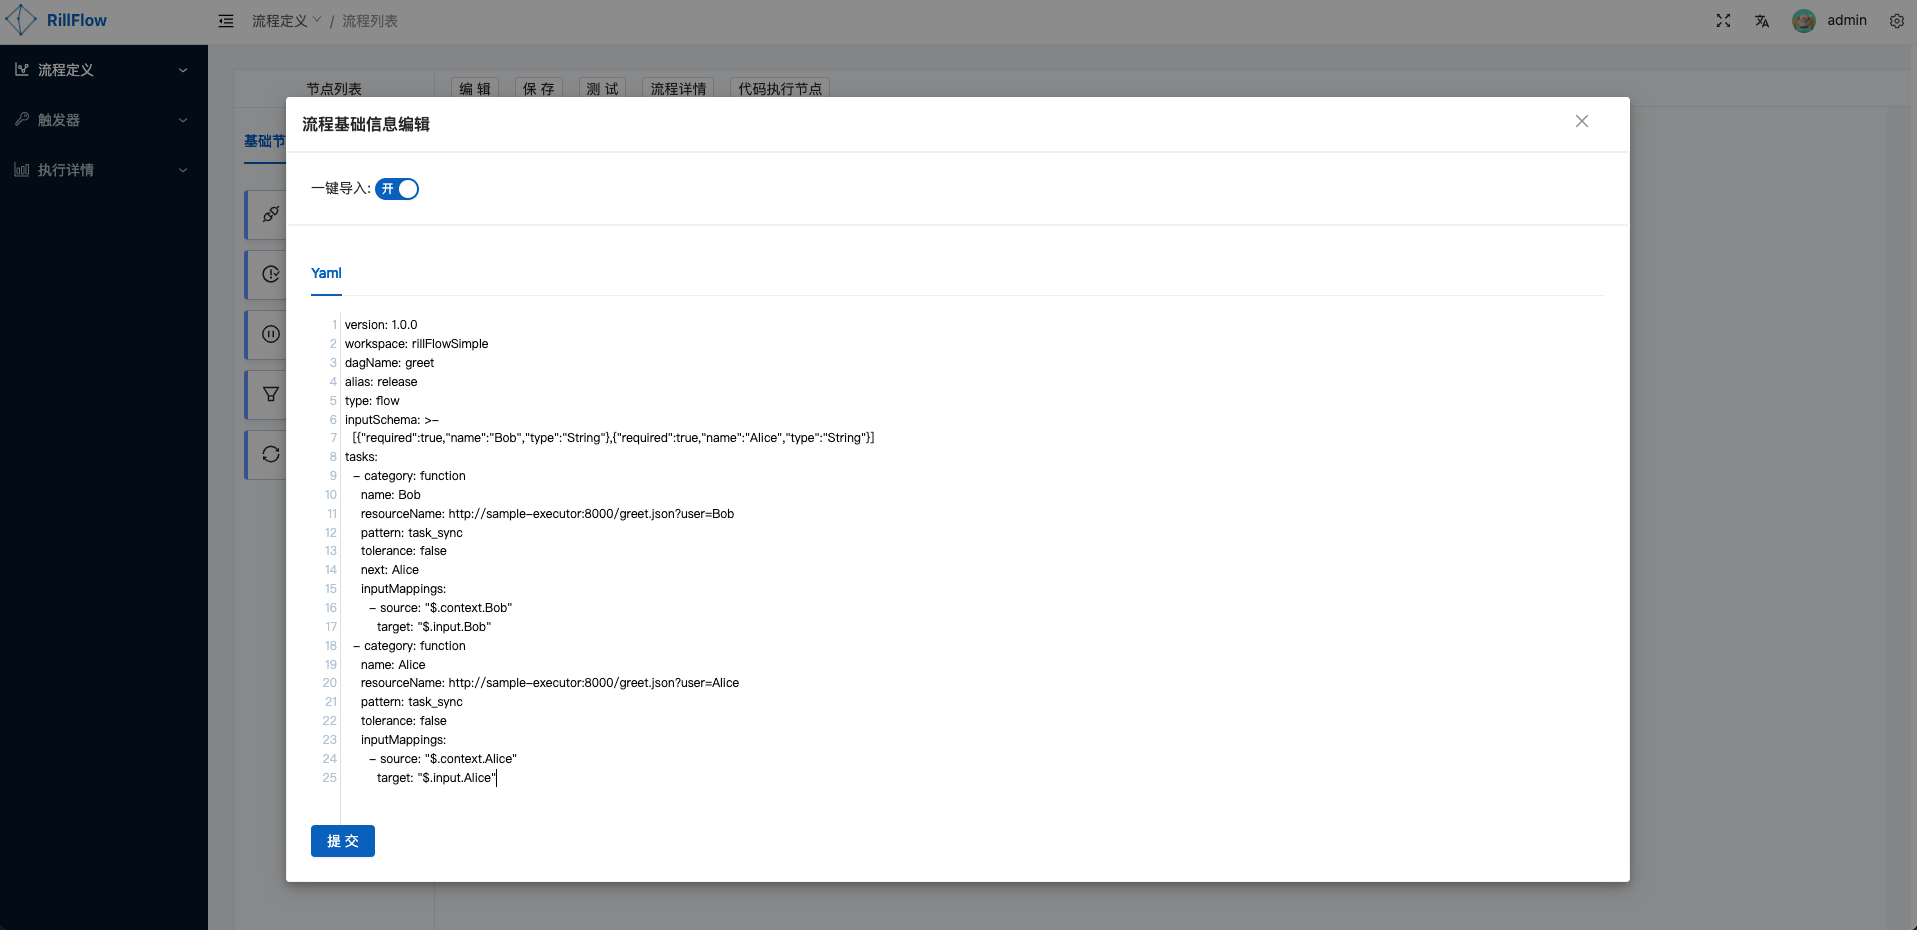
- Step 2: Entering
new processpage, open theimportswitch, copy the content of the yaml files to the text box, click thesubmitbutton to submit a simple flowchart.
version: 1.0.0
workspace: rillFlowSimple
dagName: greet
alias: release
type: flow
inputSchema: >-
  [{"required":true,"name":"Bob","type":"String"},{"required":true,"name":"Alice","type":"String"}]
tasks:
  - category: function
    name: Bob
    resourceName: http://sample-executor:8000/greet.json?user=Bob
    pattern: task_sync
    tolerance: false
    next: Alice
    inputMappings:
      - source: "$.context.Bob"
        target: "$.input.Bob"
  - category: function
    name: Alice
    resourceName: http://sample-executor:8000/greet.json?user=Alice
    pattern: task_sync
    tolerance: false
    inputMappings:
      - source: "$.context.Alice"
        target: "$.input.Alice"
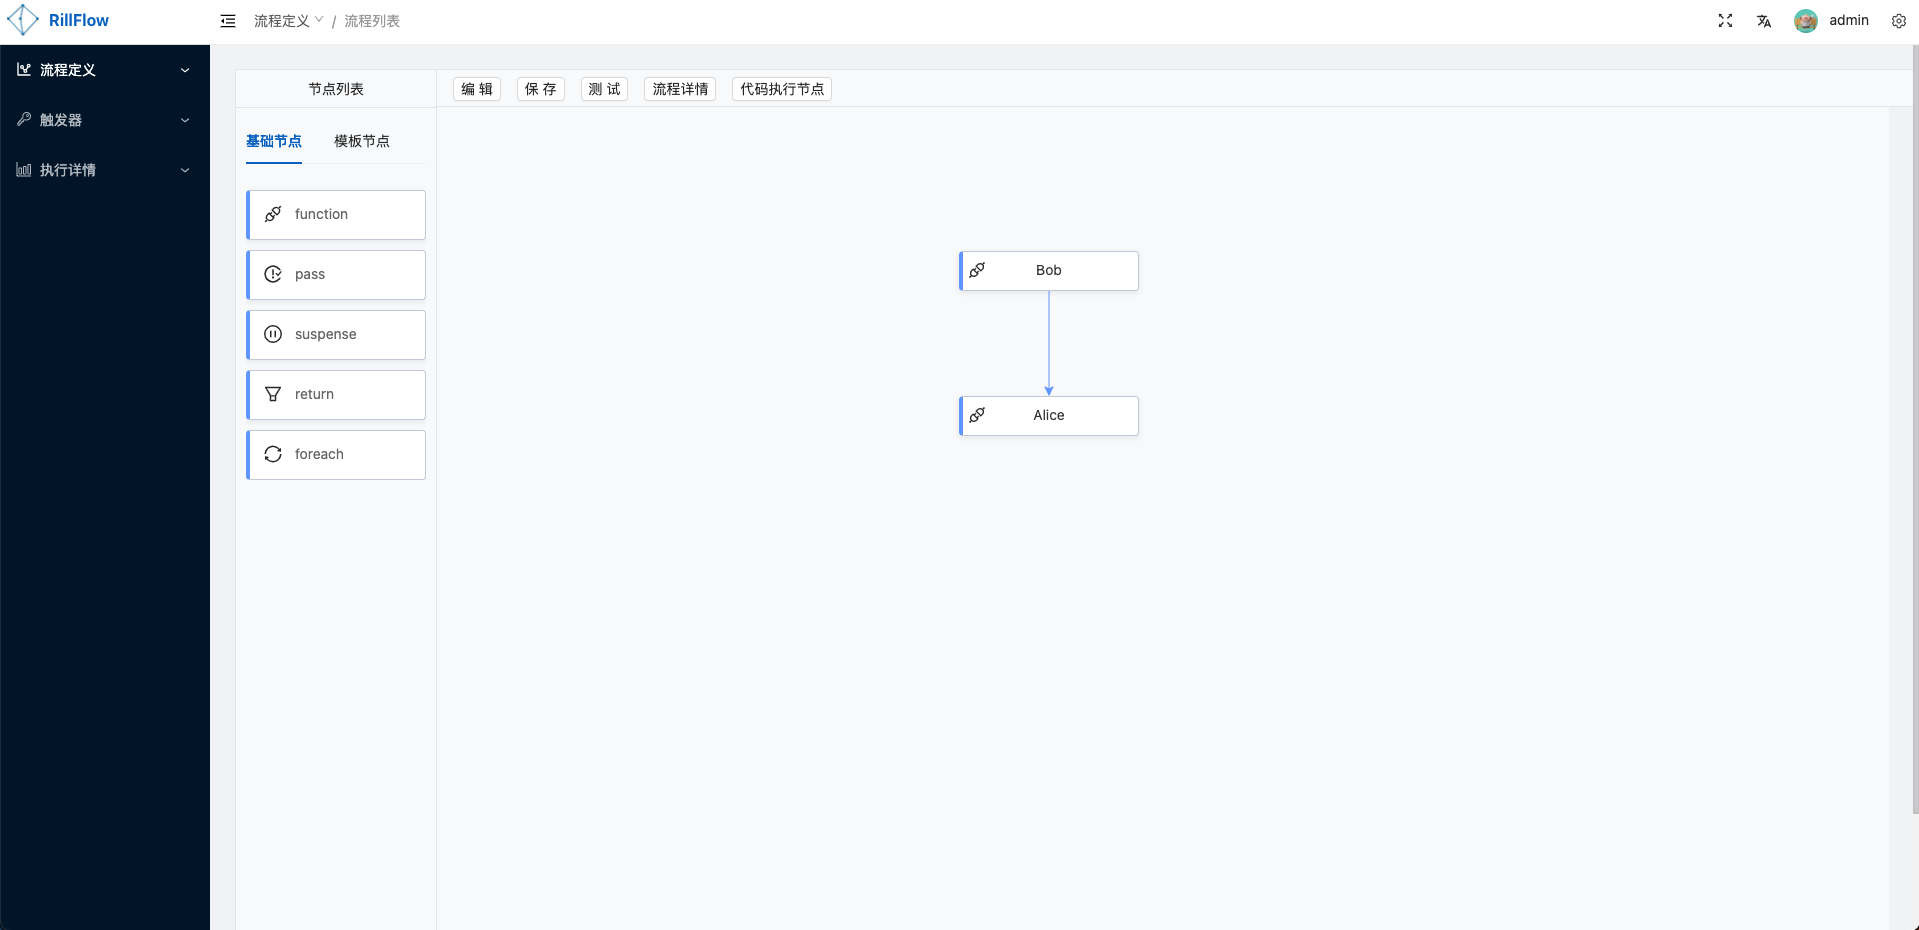
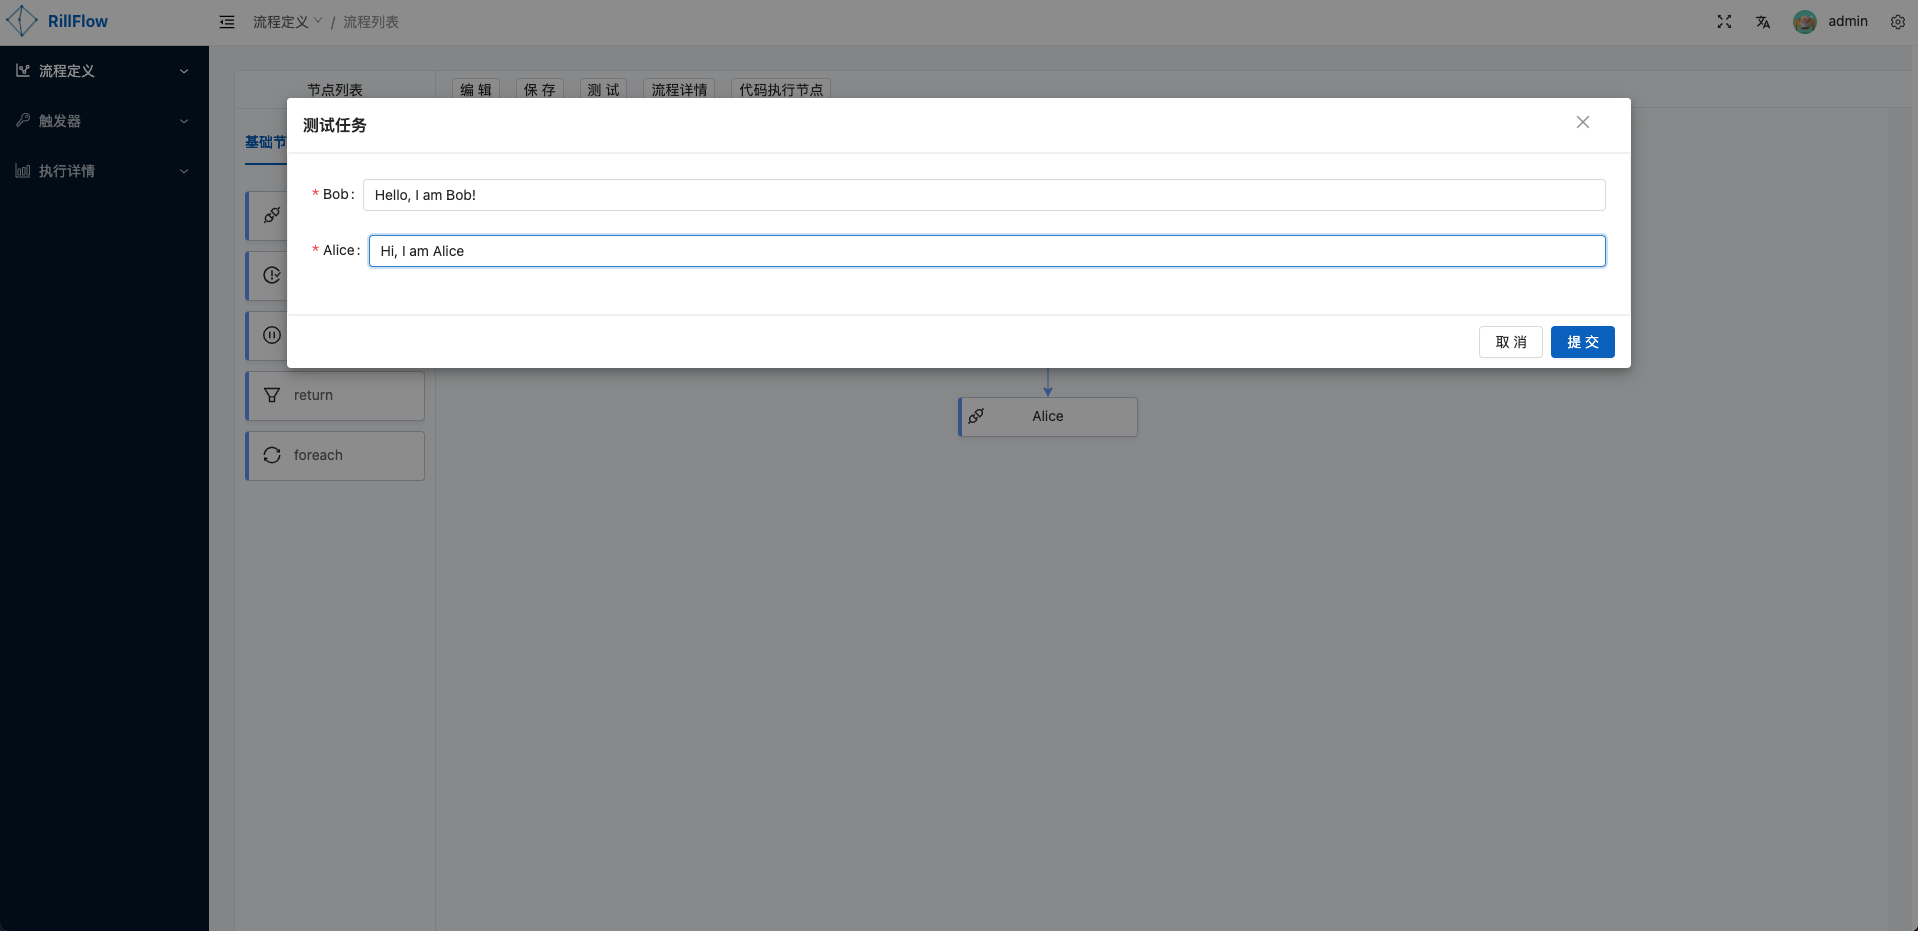
- Step 3: Submit the workflow to execute the task
Click the test button to fill in the required parameters, then click the submit button.
- Step 4: View execution results
and automatically jump to the execution details page after clicking the
submitbutton.You can view the status and details by clicking on the `Execution Details' button.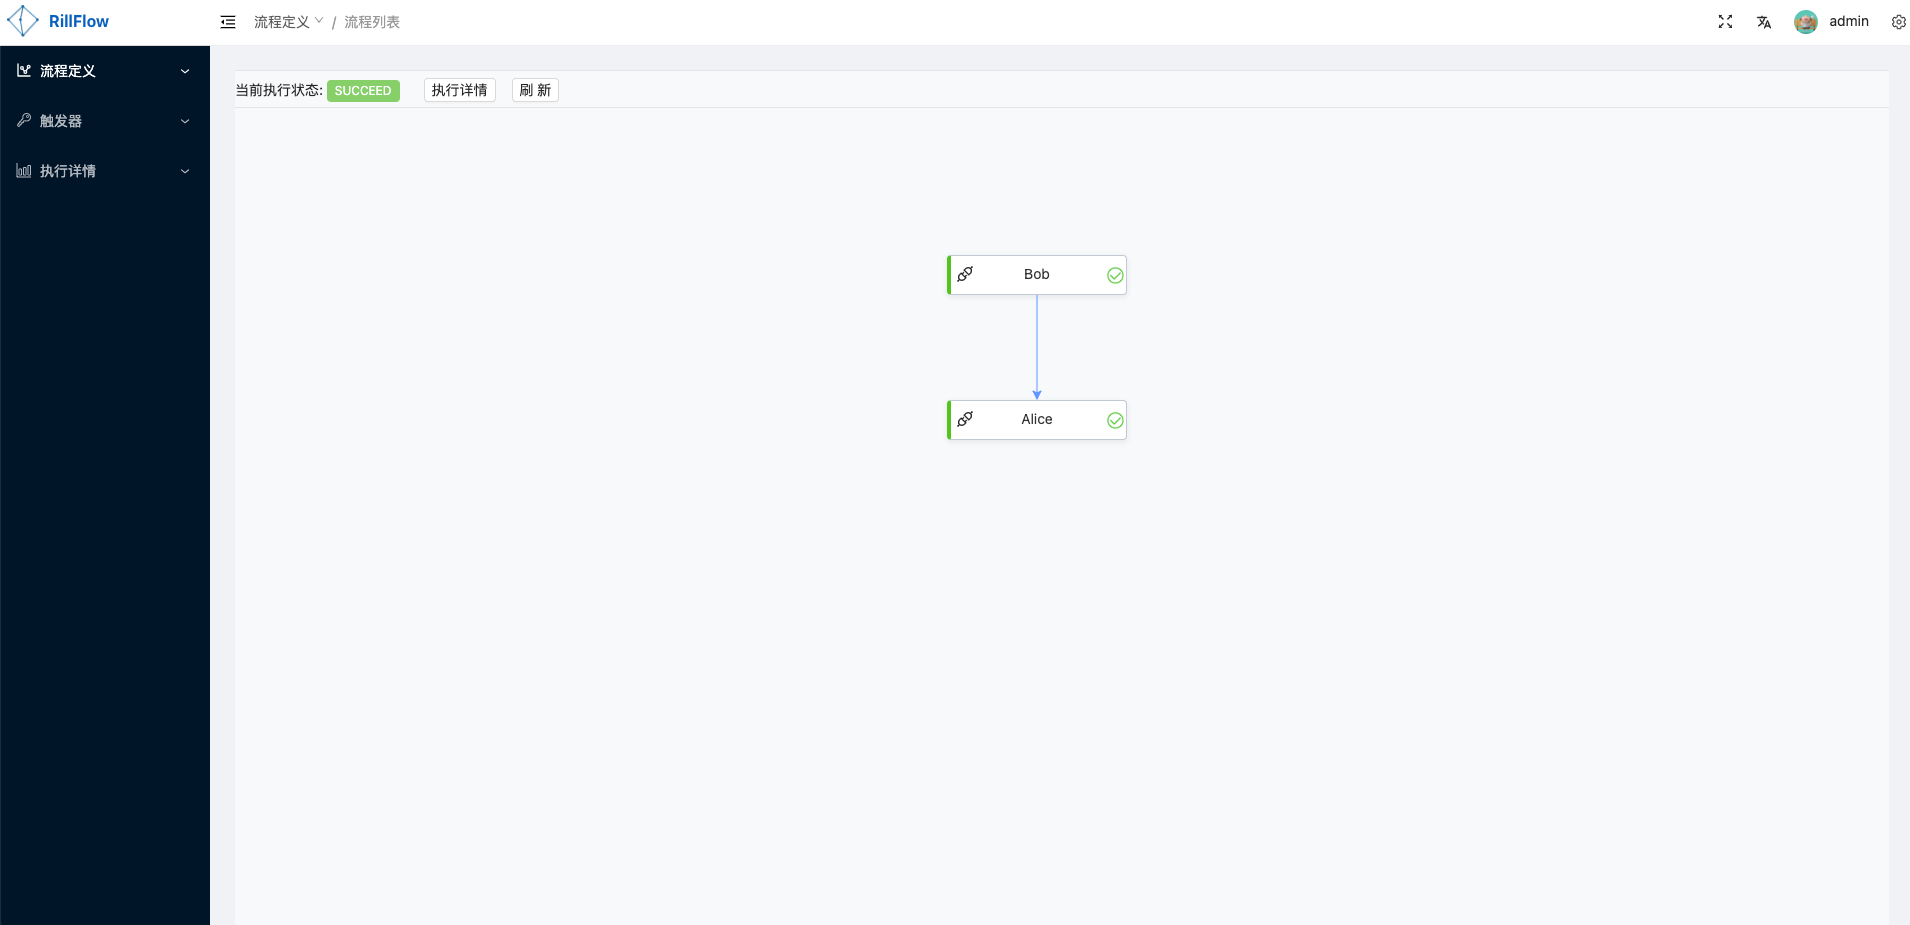
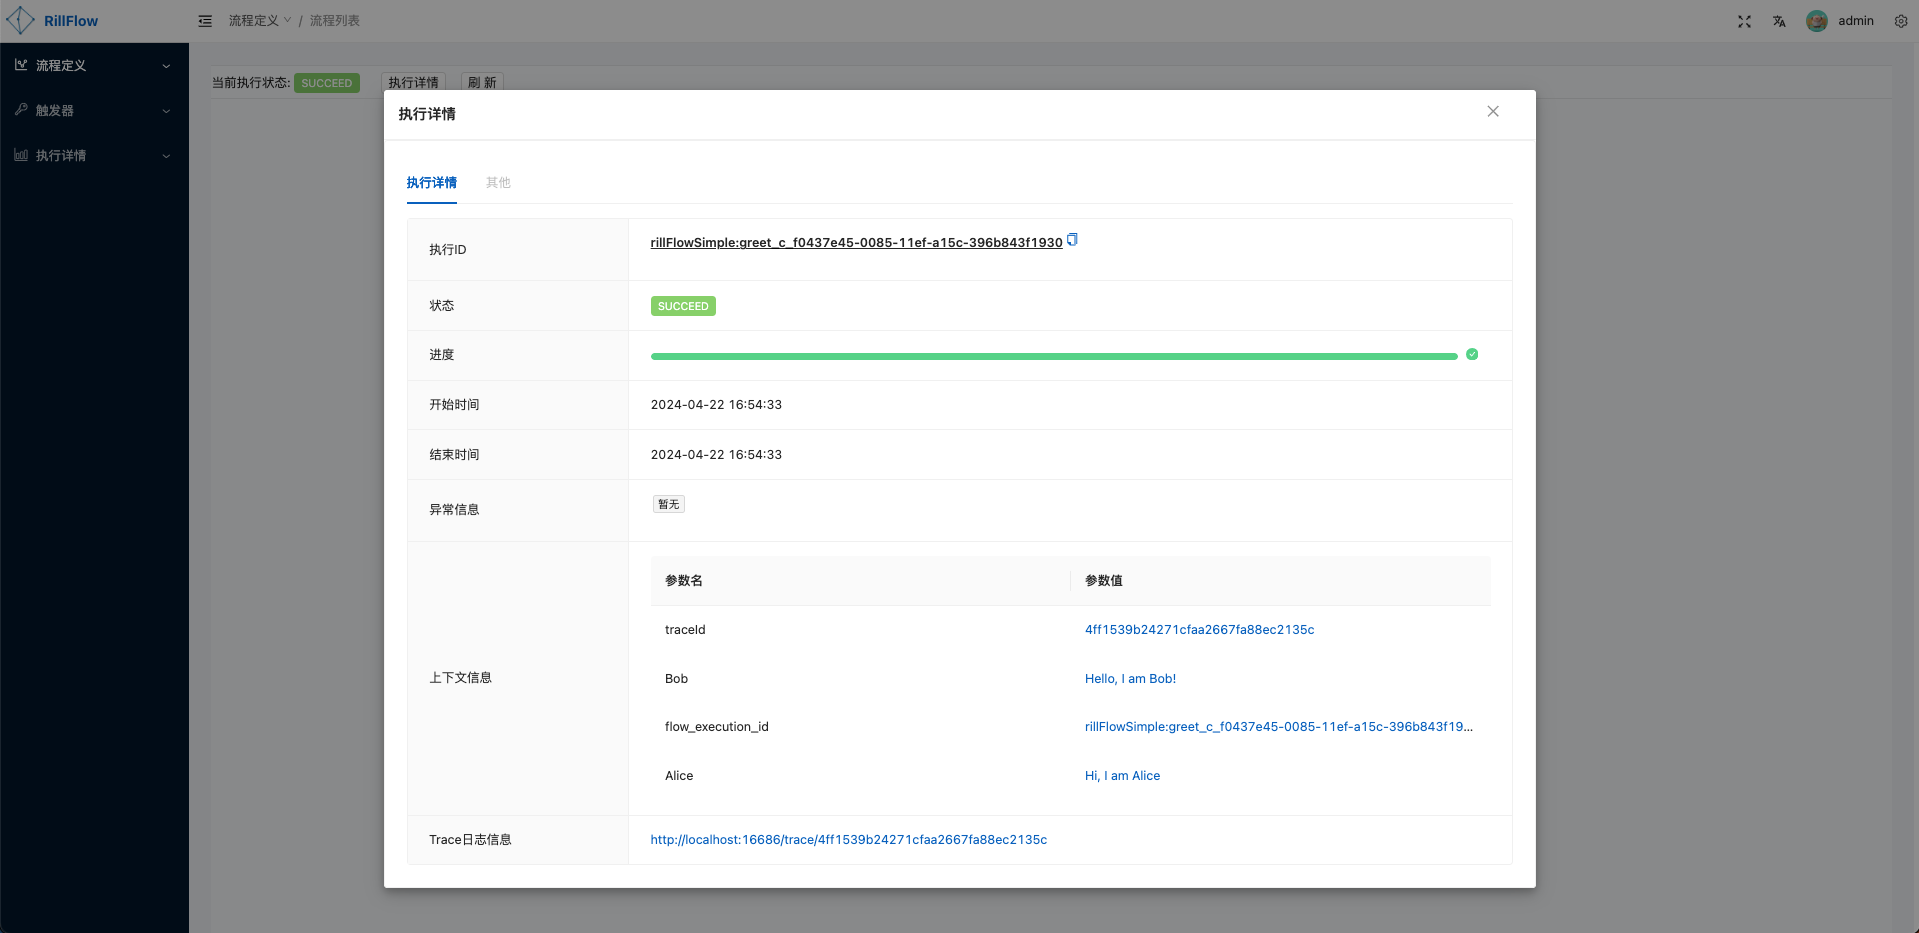
More information about results can be found instatus